I have not been posting on Marilyn's board at all, so here's some catch up. Last we left off that I had the cloth cut and the board ready to be glassed on the bottom. I practiced first on a handplane to do this type of color work while glassing because i'd never done this type of design in teh color. Psyched I practiced, as that one practice helped alot. Marilyn and Mel both helped me glass the bottom, as I was intimidated to do it by myself and get it all done before the epoxy gelled. It came out great! Marilyn was pumped, and so was I. We wrapped the rails with a cut lap, and then once it gelled, cut it off at the tape line, to have a nice line where the green cloth ended on top of the board. see below
Bottom of the board, looking great! this was a design modeled after a leaf that Marilyn at their place, and it came out pretty awesome, thanks to the help from Marilyn and Mel!
Top of the board, with the cutlap cut. Looking good too! My cut lines weren't perfect though, so pinlines are needed to hide the shakiness of my cut lines. Again, never done those, so psyched to try it out.
I glassed the top of the board by myself (no colors involved here, so a bit easier to handle) and it came out super good too. psyched I did it all in time, and with some to spare. you feel high or something when you do a good glassing job, i like it. This above photo is after I hotcoated the board. This is where you just paint clear epoxy over the glass job you already did to smooth it all out. "don't even touch barney! that's a fresh hotcoat!"

Then i mounted in the fin box for the board. I used a spare fin i have to put it into the fin box, and have a reference to make sure it is perfectly vertical and the box is therefore in perfect also. The epoxy has a property where the larger the volume, the quicker and hotter the reaction takes place when it starts to harden. So the issue here is that you carve out this rectangular hole in the board to mount the fin box into, and then pur epoxy in, push in the fin box, and get it aligned and everything while it cures. There's horrow stories of guys melting the foam inside the board some when doing this, because of the exothermic reaction that takes place, so a trick is to hold an ice bag against the opposite side of the board, to keep it cool. You can't see it, but that what the duct tape is doing there- holding an ice bag against the bottom of the board while the epoxy cures. I also have an air pump, for air mattresses, sitting on the board running as this creates some vibration throughout the board, and if there are any bubbles down in the epoxy, it helps them rise up to the surface and pop, and then there's no potential air pockets or anything anywhere. I've seen this done with other stuff, but not too sure how much it helped here.

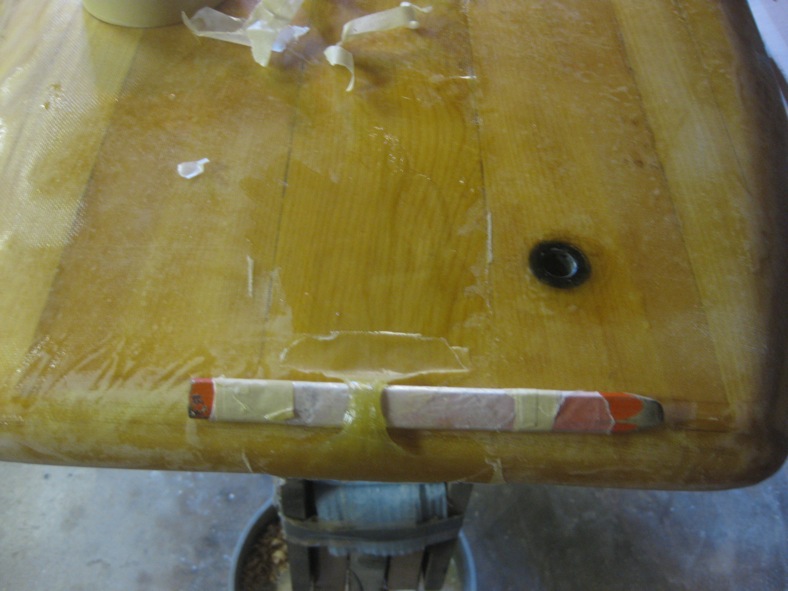
I just masked off the top of the board and painted on the pinlines to hide the cutlap line. I've never done this, so hopefully it comes out well. I used tinted epoxy resin and painted it on. Once it starts to gel, you pull the tape and it should be a clean line, as long as you pull the tape at the right time..... hope i do that.