Woodturning class- making bowls now! super super fun!

first, the outer shape of the bowl is shaped from a square block of wood. we trimmed the corners off the block of wood first, to give it a rough circular shape, then threw it on the lathe. here it is shaped and sanded on the outside, ready to gouge out the inside

thats the bowl gouge, with the tool rest up close to the bowl, shavings everywhere!
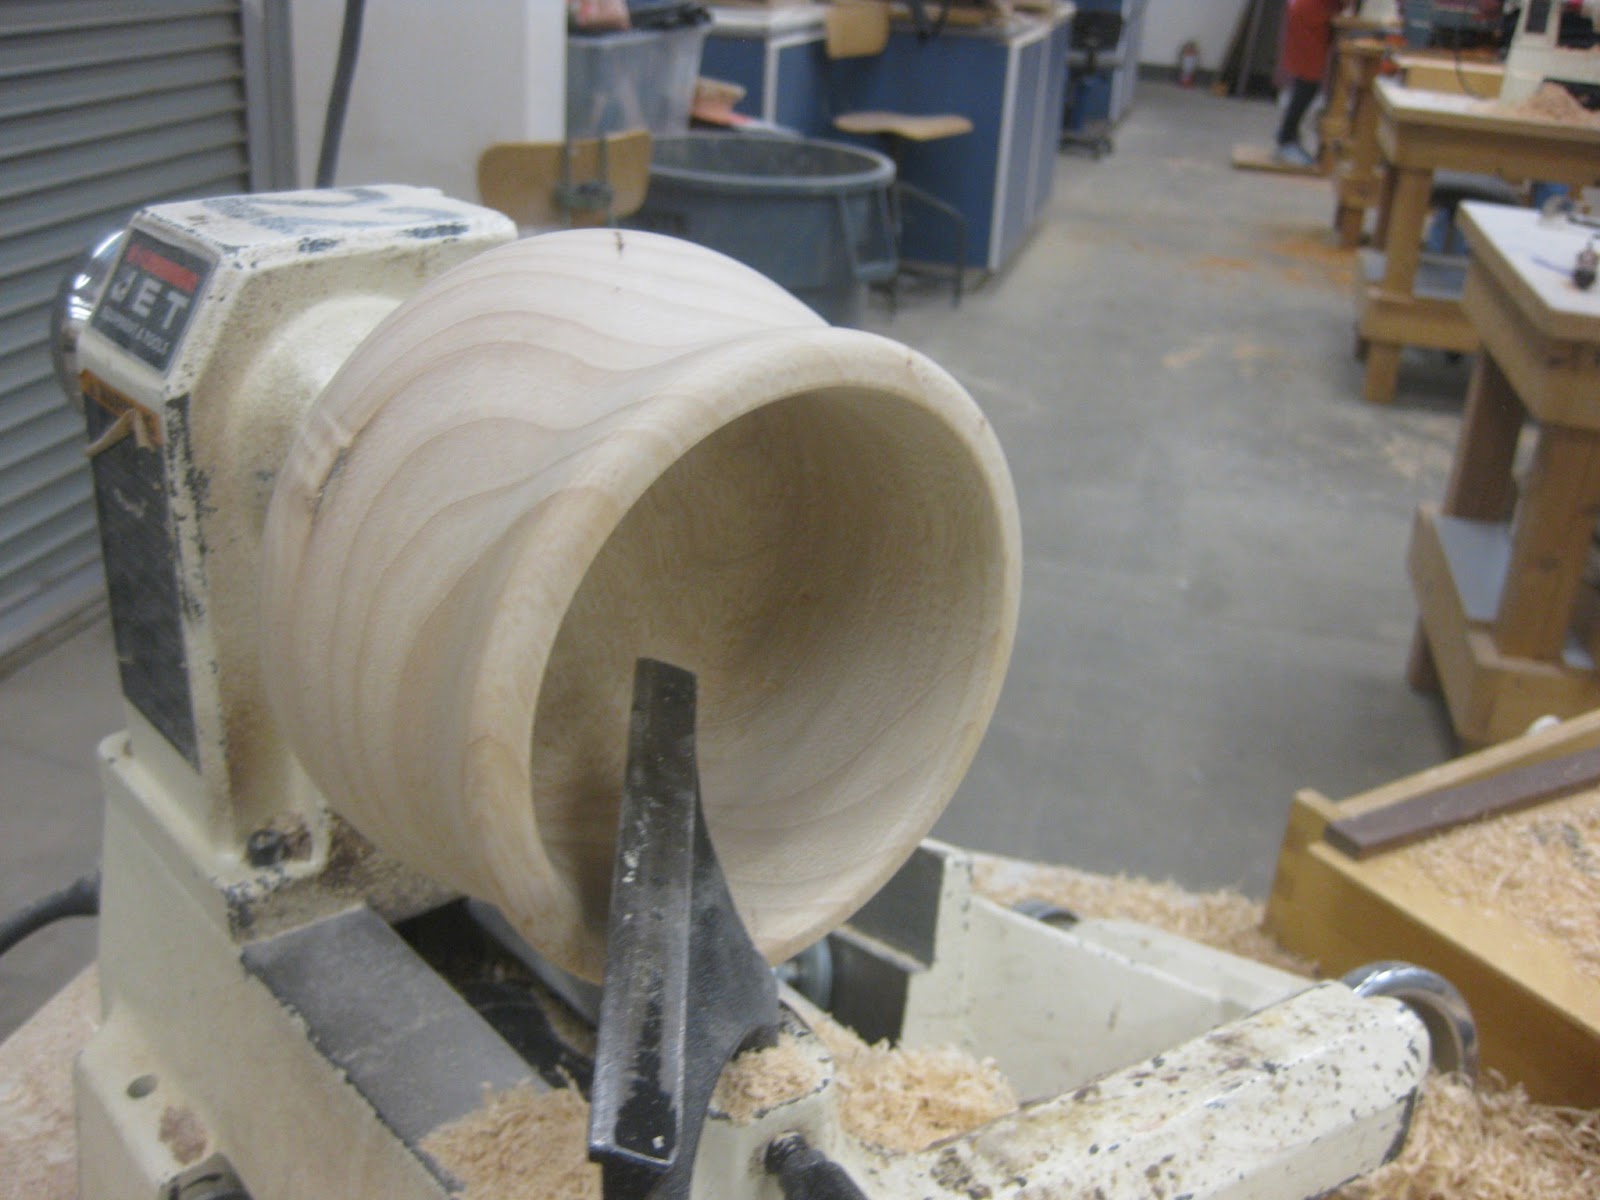
once it gets deeper, the tool rest gets moved inside the bowl, carefully not hitting the edge when the bowl starts spinning again

inside done!

then we put this contraption, which has padding on the end of this big wood cylinder, adn tighten it down

then you slowly carve away that button on the bottom of the bowl as it spins, until it is barely there. then we took it off the lathe and used a chisel and sanding block to get it flat on the bottom

finished product! my first bowl! this is ash wood by the way
.JPG)
oh yea, my friend took some photos for his portfolio the other day and sent me this one

this plastic handle was coming loose cuz it was a cheap tool. but i'm taking woodturning now! so in some spare time one class i turned a handle with the intent of it going onto this tool. came out great!

finished product! might stain the handle still...

Been working on this mallet also. The head is three pieces of wood glued together and held together with four internal dowels. Forgot to take a picture of that going together, but it's three pieces so that it can be assembled around the handle of the mallet, which is tapered and slips into the head.

like this

The handle is very slightly tapered so that the head naturally can't come off the end of the handle. We then secured it with a couple of dowels and oiled it up!

here's some other finished ones. mine is the second to last one, with the dark handle

I had a ton of scrap walnut from work, so I milled a lot of it to thinner strips and glued them together with the next school project in mind. Today we put it through a large sander multiple times to get it all nice and clean and flat/parallel on both sides. pumped on how this may look....

here's some shots from work lately. This is where i've been spending a few days a week! looks messy huh?

Looking from teh back of the shop to out front (still looks messy huh? there is an order to the shop actually)

small showroom with some of the products

assembly area, with some smaller scale prototypes of some new stuff

These were a special project actually. some artist did these and wanted work to make lights for them and attach them so that light shines up into them and they look cool. these were cool, and were a pain in the ass to clean the inside of them...


There were five total, pretty cool looking once they were finished and we turned on the lights inside of them.

Last Saturday, I worked on this guy. He's pretty awesome looking. I was psyched they just gave me the engineering drawings of this product and then I got to start from picking the wood, to cutting and sanding, to assembling it (the wood part of the fixture at least). This is as far as I got in one day. Lots of parts on this fixture so it was time consuming

Here's what the final product of that looks like (taken from the website)

Other times, I'm assembling lots of parts of some fixtures, like here. These are the middle stand of a floor lamp. (next picture)

a couple of weeks ago, we cut and glued up and stained the wooden legs of these lamps. We had an order of 20 or so lamps (3 legs per lamp), so we cut enough to have spares also, and ended up cutting over 100 legs - long process...

Here's one i've been working on also. this is again taken from the website, but this one is pretty awesome. The corner joints are pretty unique i think, and this one is pretty cool. I've been pumped to be working on this one

another photo from the website of this fixture

in other news, I have started on another wooden surfboard! super super pumped! I'll have to throw up a photo of the modeled surfboard soon. I modeled it all in solidworks and then was able to just print out cross sections where I needed to cut the ribs and spine! already a much better design and plan of attack than the last one, and drawing everything by hand (long curves are hard....). anyways, this will be a single fin board, with two side fins (optional), it's 5'11" long, and kinda hull-ish and egg-ish. pumped to find out how this thing actually rides, but super pumped to see how the process of this goes now that I know a bit more on woodworking and have some other tools

cross sections cut and sanded smooth

then I drilled some holes! these take some weight away, but are mostly to let air through to each "compartment" of the board - in between each rib section.

I got the first bottom plank glued on tonight! Feel very good to get going on this guy again. just wish I had a bit more time maybe to work on it more....

front view


